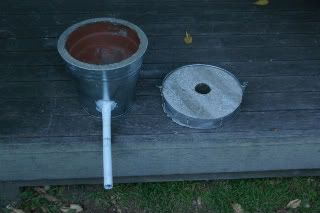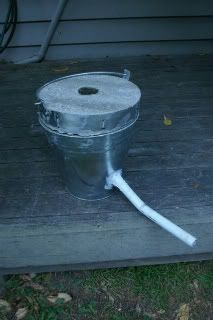
The refractory has started to dry out. Here you can see the lid and body together.

I trimmed the reinforcing bar from the outside of the lid with an angle grinder. I also removed the PVC pipe (35/40mm Dia) from the top. The refractory around the lid of the bucket wasn't completely level, so I took a rasp file and level it out to get a better seal around the top.

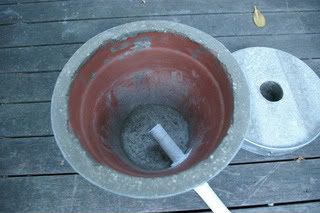
I had to bend the tube to get a better connection to the PVC pipe. You can see the refractory in the bottom of the flowerpot and the tube (this was taken from an old wardrobe that I demolished) inserted, although you can't see the holes drilled into it. There were originally six holes, three down each side, but I reduced the distance that the tube goes into the flowerpot, as I wanted to have more height allowance for the crucible. This meant that only four holes are exposed, but I sealed up the end of the pipe with silicone and pierced the end of this.
Disclaimer: This is a DIY project and Chris Jackson takes no responsibility for any injury,accident, loss or damage should you choose to engage in a similar project after reading this blog. In this, or any similar project, due care and diligence should be taken and always wear the proper safety equipment and take relevant precautions. If in doubt consult an expert or trades person.
No comments:
Post a Comment