When I engaged in this idea, I thought I would have it all done and dusted in a weekend. The reality is that it has taken a while to learn the idiosyncrasies of my own furnace and then learn about what works and doesn't in terms of materials, foam and casting.
What I will say is that it has been one of the best learning experiences and generally most rewarding design experiences I have had.
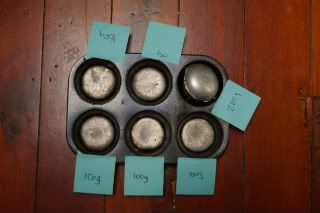
I labelled the ingots which I had pigged in the last blast, to make sure I knew what sort of weights I was dealing with in each pour.
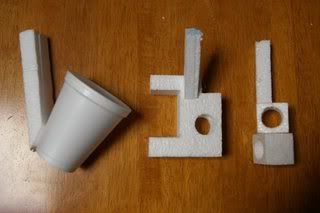
Here you can see how I has the foam parts set in terms of the sprue. It's really interesting that you can make an estimate of the best way something will pour, but it actually takes at least one go to figure it out.
I also had the idea to try and cast a foam cup, slightly apprehensively, as the minimunm thickness to allow a good pour is around 4-5mm (i think!).
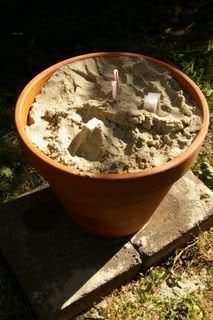
Here is the set up for the our. As you can see there are two straws to allow for gas to escape when the pour builds up. You can see that I also built a 'moat' around some of the sprues so molten aluminium couldn't escape when it overflowed.
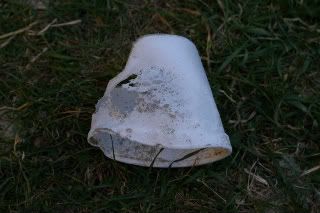
As you can guess, the first pour of the cup was not successful. The thin wall (maybe 2mm) meant the riser set up was wrong.
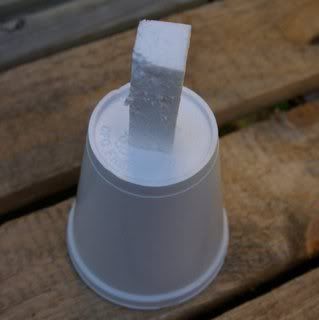
I immediately tried another set up - top down, which had more gravitational force pushing the material down.
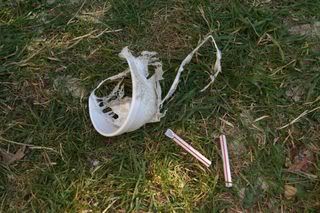
Alas, this didn't work either. There was a small pool at the top of the cup which formed that you could even see the text of the cup in, but the aluminium cooled too fast, and just melted the rest of the cup and the straws.
Although this doesn't seem like the most successful of exercises, I once again learnt a lot about what will and won't work. It also gave me another opportunity to run through the entire smelting and casting process and hone my skills and understanding.
You can see the results over at Research & Object
No comments:
Post a Comment